Editor Screen
After creating a new character or opening a character file, you will be presented with the editor screen.
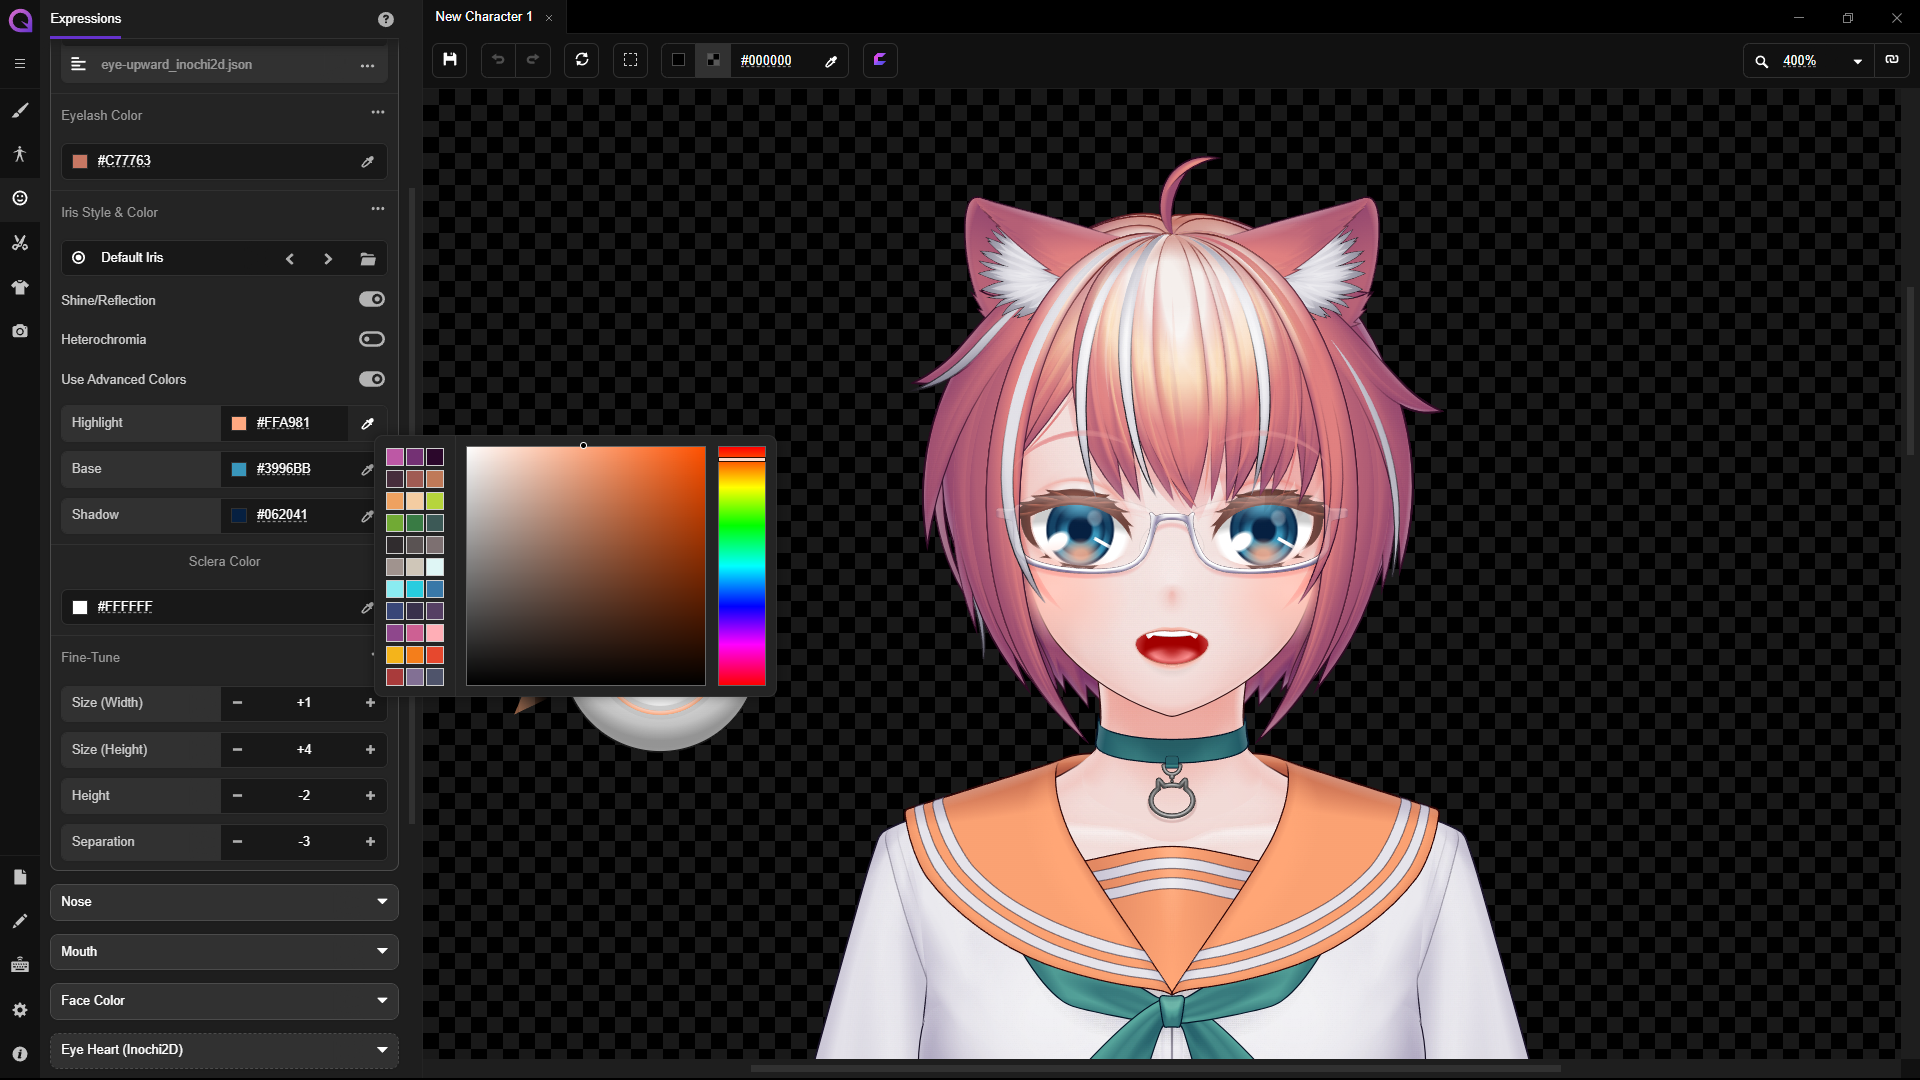
On the top side of the screen you can find a toolbar which consists of several controls:
- Save button.
- Undo and Redo button.
- Refresh button, which is used to re-render your character on the preview section. Sometimes a glitch on your character preview image can be fixed using this.
- Canvas border toggle, which is used to toggle the canvas border line in the preview section.
- A toggle to switch between Plain or Checkered background in the preview section, and a color code input to change the background color. You can input the color code directly, or click the eyedropper icon to open the color picker interface.
- Inochi2D/VTuber mode toggle. When enabled, Mannequin will limit template selection to Inochi2D-compatible templates only, same as choosing `VTuber Model` as `Export Target` in the `Create New Character` dialog.
- A zoom level input, which can be edited directly or changed between several preset numbers by clicking on the downwards triangle icon. You can also sync the zoom level and scroll position for every opened file by enabling the toggle.
Most of the functionality regarding character customization is available inside the tabbed sidebar on the left side of the screen. You can find more detailed information about how to use them by reading other pages in this documentation.